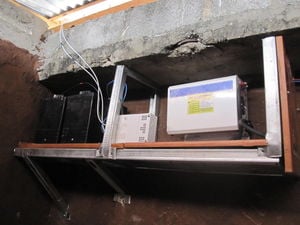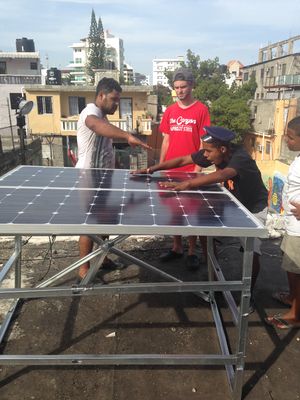
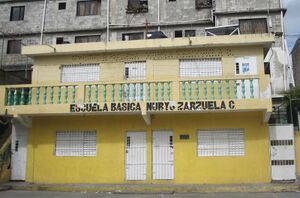
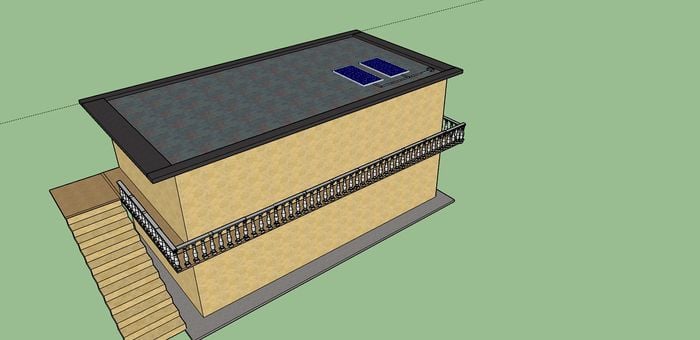
The following page will cover a variety of topics concerned with providing renewable energy to the La Yuca schoolroom in Santo Domingo, Dominican Republic. The background goes over the current conditions of La Yuca, as well as introduces the Renewable Energy team members. In the Problem Statement section, a table is provided with the criteria and constraints of the project with a weight attached to each. The Literature Review covers a variety of topics related to renewable energy. Next, a timeline with descriptions of the project steps and completion dates is provided followed by a table with the project costs. Then the page goes on to describe the step by step process by which a PV system is sized and installed. Lastly, there is an image of the final design.
Background[edit | edit source]
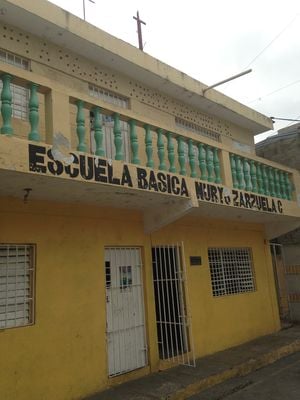
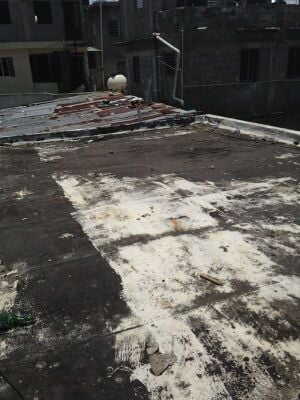
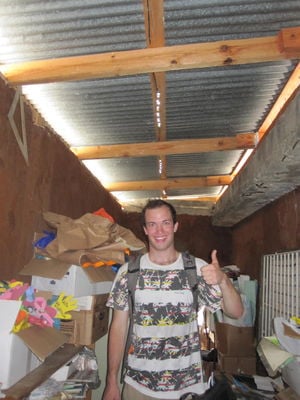
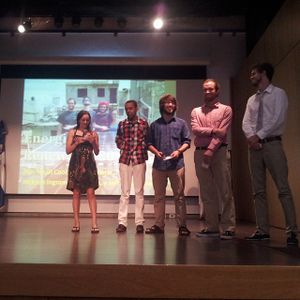
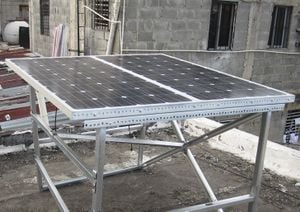
During the months of May through July in 2014, students from Cal Poly Humboldt in the Practivistas Dominicana Program worked in collaboration with Universidad Iberoamericana (UNIBE), Collectivo RevArk, and the community of La Yuca. La Yuca is a small community located in the city of Santo Domingo, Dominican Republic. A group of five students consisting of Noah Coor, Jackson Ingram, Emily Klee, and Jeff Mosbacher worked with community members and school staff to design a photovoltaic system to provide power for the electricity needs for two of the four schoolrooms in La Yuca for when the power goes out. There are four schoolrooms that are powered by the grid. Currently, there is a small solar panel that provides power for lights in the school's storage room, however it is not functional.
Problem statement[edit | edit source]
The objective of this project is to design and implement an alternative energy system that can produce power for the schoolroom in La Yuca.
Criteria[edit | edit source]
The following table designates the criteria for completing our project weighted on a scale of 1-10, with 1 being of little importance and 10 being of the highest importance.
| Criteria | Weight | Constraint |
|---|---|---|
| Durability | 9 | Systems must be able to withstand the various weather conditions of Santo Domingo |
| Functionality | 10 | Must be able to power the clients needs and store excess electricity |
| Cost | 8 | Must not exceed our project budget |
| Material Locality | 6.5 | Materials must be locally available in Santo Domingo |
| Educational Value | 5 | System is easily understood for those interested in learning about the system |
| Safety & Security | 8.5 | Must be a well protected system from theft as well as any possible physical harm to members of the community |
| Reproducibility | 4 | Must be easy enough for community members to replicate in their own setting |
| Ease of Maintenance | 8.5 | System must require little maintenance and be easy to understand and work with |
| Aesthetics | 5 | Systems constructed in a visually pleasing way that is accepted by the community |
Literature Review[edit | edit source]
Here is a link to a review of the literature pertinent to the 2014 alternative energy project. This project is located in Santo Domingo, Dominican Republic, specifically, La Yuca.
Construction[edit | edit source]
Listed below is a timeline of the events of the Renewable energy team and the objectives that were completed. This section includes a cost analysis of the project and its required materials, as well as a "How-To" table for the steps needed to size and assemble a photovoltaic system.
Timeline[edit | edit source]
The following table outlines the tasks and dates for the project.
Costs[edit | edit source]
This is a cost budget for this project, which includes the quantity, and the Dominican peso and US dollar price for each item.
| Material | Quantity | Unit Price (RD$) | Total (RD$) | Total (US$) |
|---|---|---|---|---|
| 140 Watt Solar Panel | 2 | DONATED | 0.00 | 0.00 |
| 30Amp Charge Controller | 1 | DONATED | 0.00 | 0.00 |
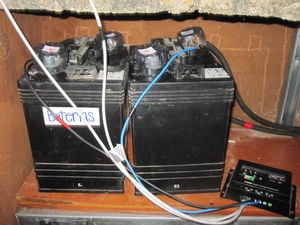
| 6V Battery | 2 | DONATED | 0.00 | 0.00 |
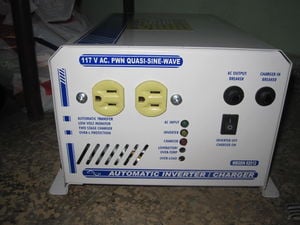
| Inverter 1.2Kw / 12V | 1 | 5,500.00 | 5,500.00 | 126.52 |
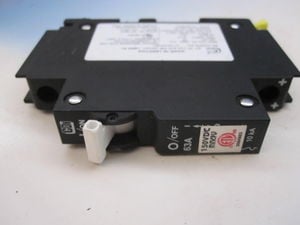
| 63Amp Breaker | 1 | 625.00 | 625.00 | 14.37 |
| 30Amp Breaker | 1 | 625.00 | 625.00 | 14.37 |
| Terminal Connectors | 1 | DONATED | 0.00 | 0.00 |
| Electrical Cable | 350 ft | 8.00 | 2,800.00 | 64.41 |
| Electrical Conduit | 10 | 155.00 | 1,550.00 | 35.66 |
| Electrical Tape | 1 | 176.00 | 176.00 | 4.05 |
| CFL Lights | 2 | 100.00 | 200.00 | 4.60 |
| Outlet Box | 4 | 76.00 | 304.00 | 6.99 |
| Outlet | 2 | 23.00 | 46.00 | 1.06 |
| Outlet Cover | 2 | 5.00 | 10.00 | 0.23 |
| Switch | 2 | 23.00 | 46.00 | 1.06 |
| Switch Cover | 2 | 5.00 | 10.00 | 0.23 |
| Octagonal Box | 2 | 40.00 | 80.00 | 1.84 |
| Light Socket | 2 | 38.00 | 76.00 | 1.75 |
| Mounting Structure + Installation | 1 | 2,800.00 | 2,800.00 | 64.41 |
| Housing Shelf + Installation | 1 | 2,500.00 | 2,500.00 | 57.51 |
| Total Cost | $17,348.00 | $399.06 | ||
Materials Needed[edit | edit source]
Part 1: Sizing the System[edit | edit source]
Determine the power consumption for all loads that the PV system will supply power to.
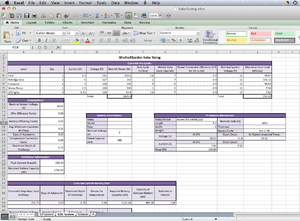
Use this spreadsheet to help determine how many modules and batteries you will need to use by plugging in the information from step 1. Do not solely rely on this excel spreadsheet for your final product, this is merely an approximation, be sure to get a second or third opinion from other sources on correct sizing.
Determine the specifics for the inverter, charge controller, and all other electrical equipment that the system will need.
Part 2: Assembling the System[edit | edit source]
NOTE: Depending on which model charger controller you are using, the order of the wiring will vary. It is important that you follow the installation instructions stated in your charge controller manual.
Design[edit | edit source]
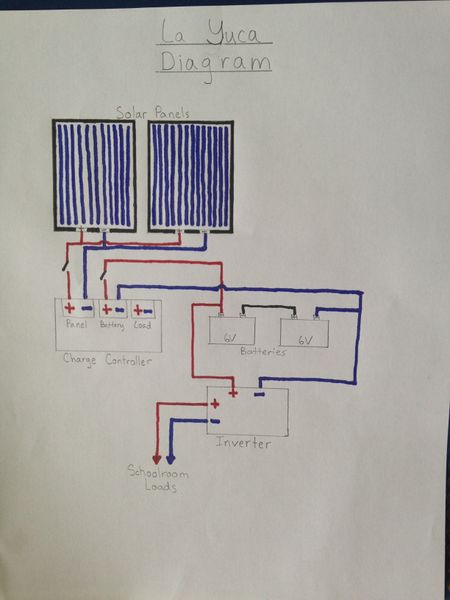
A diagram of the systems wiring connections can be referenced below.
Operation[edit | edit source]
The following is a guide to the maintenance of the solar power system as well as information about its operation.
Maintenance[edit | edit source]
In order to keep this system up and running efficiently, periodic checks are mandatory. These check-ins involve inspecting the wires for all aspects of the system, and monitoring the solar charge controller. The panels must also be cleaned once a month, or after a storm in order to maintain panel efficiency. The batteries must also be replaced after their lifespan has gone kaput.
Instructions[edit | edit source]
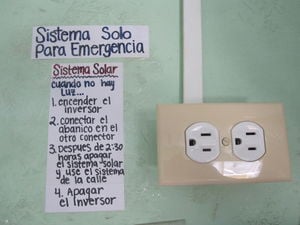
When the electricty from the city goes out and the back-up system is needed, follow the steps below.
- Turn on the Inverter
- Switch the plugs for the fans to the solar power system outlets
- Use the solar power system switches for the lights
- After 2.5 hours of use, switch back to the city system
- Turn off the Inverter
Conclusion[edit | edit source]
The following section addresses the teams results with the system in the La Yuca Schoolroom, and discusses the things that could be added to improve the system as well as instructions for future users to troubleshoot the system.
Testing results[edit | edit source]
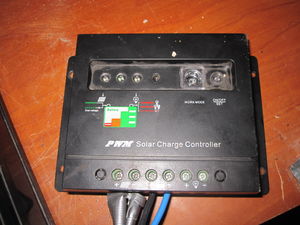
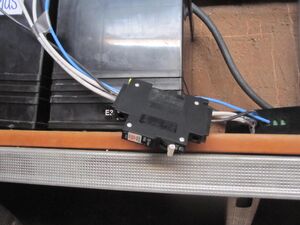
Upon completion of the installation of the solar power system in La Yuca, the team was successfully able to verify the working condition of the system. With the breakers between the panel and the controller in the on position, the team received a green light indicator on the charge controller, signifying that the panel was sending an electrical current to the system. The light indicator for the batteries also was green, thus proving that the panel was indeed charging the batteries. This result also concluded that the inverter and the loads were receiving this electricity because they were wired directly to the batteries. With the inverter on and all indicator lights on, the final test was to turn on the loads within the two schoolrooms, and all of the loads successfully worked.
Lessons learned[edit | edit source]
Some of the lessons that we learned while installing the solar panel system in the La Yuca Schoolroom were as follows.
- Plan ahead and contact the people helping you install the system at least a day in advance to assure that you have the correct tools for the job.
- Mark electrical cables with color coded tape in order to remember which cable is which. This is particularly helpful if the system requires you to get to a hard to reach place to check the type of cable.
- Always over-estimate the load that your system will need to produce. A little bit more electricity produced than is necessary is better than not having enough electricity.
- Don't always sacrifice quality for price in your electrical hardware. Be willing to spend a little bit more money to have outlets and switches that will not only work, but last as well.
- Follow the instructions that come with the solar charge controller, because the order of which you connect the wires to the controller matter.
- Our team learned a lot about the difference between alternating current (AC) and direct current (DC) current and how to wire the two different types. Specifically, make sure you have a bigger gauge of wire for the DC aspect of your system as opposed to the AC aspect of your system. The reasoning for this is that DC drops in voltage over a long distance, where AC can have smaller wires and can travel over much larger distances.
Next steps[edit | edit source]
The following are additional steps that groups in the future can do to improve upon the system in La Yuca.
- Add a battery monitor so that users may read the battery voltage. If the battery voltage is too low, the load should not be used until they recharge. This will help make sure the batteries last longer.
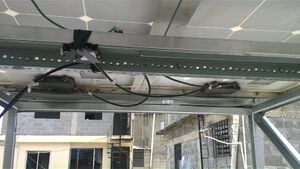
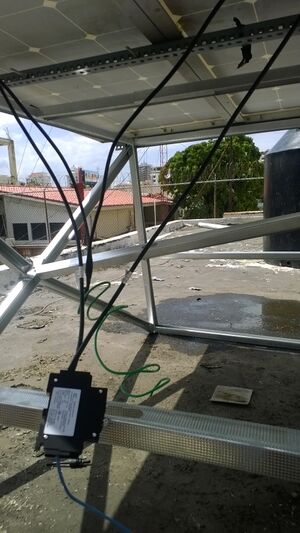
- Secure the wires from the panel to the control box more permanently.
Troubleshooting[edit | edit source]
| Problem | Suggestion |
|---|---|
| Solar Panel Light is off | Wires connecting the panel and the controller have been interrupted |
| Inverter/Loads do not turn on, or Battery Light is Off | Make sure Inverter and Batteries are plugged into the charge controller correctly, check wire status |
| Advanced Issues | Contact or ask around for Javier Duran Jr. "Gordo" from La Yuca |
Team[edit | edit source]
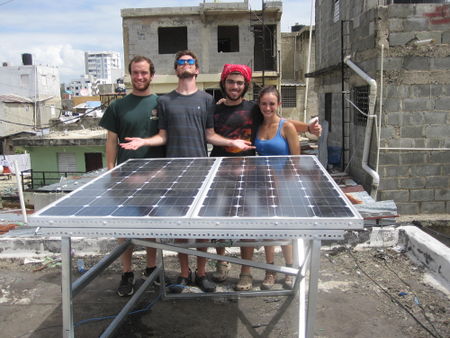
The Renewable Energy Team of 2014 consists of the following Cal Poly Humboldt Engineering students, as well as Javier Duran Jr. from La Yuca. Also, a very special thanks to Tito from the La Yuca Community for providing his expert electrical knowledge and help, as well as Jose (also from the La Yuca Community) for his help with the construction and installation of the hardware for our system.
Update 2015[edit | edit source]
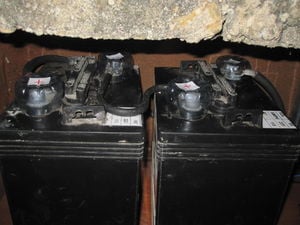
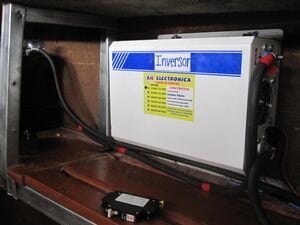
The Practivistas Solar team of 2015 returned to the system in La Yuca and found that the inverter was not working and needed to be repaired. They also found that the rainwater catchment system has been dismantled due to a storm and children playing with it. The teaching assistant Jack Ingram and Javier Duran Jr fixed the rainwater catchment system and Javier also fixed the wiring for the LED lights in the storage room that seemed to be disconnected by a dent in the roof, possibly as a result of the storm. To fix the inverter Tito, local electrician and taxi driver, helped the team by taking the inverter to SM Electronica to have it repaired for 1,000 pesos. The inverter was then reinstalled by Tito and Lonny Grafman. The team also monitored the health of the batteries by discharging them to 60% and recharging them. By monitoring the voltage with a multimeter the team was able to see the duration of time it took for the batteries to charge. The batteries proved to be healthy as the school rarely uses the system. The team explained how to operate and how to maintain the system with the maintenance people at the La Yuca school.
To learn more about what the 2015 solar team accomplished, go to Practivistas solar 2015
Testing results[edit | edit source]
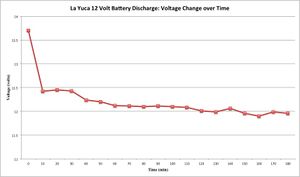
Discharging the La Yuca batteries
The two 6V batteries initially read 13.7V when the system was completely charged. After three hours with the loads from the table below on, the voltage of the batteries read 11.96V. According to the Depth of Discharge table from http://www.solar-electric.com/deep-cycle-battery-faq.html, the batteries were discharged 60%. This means that the La Yuca school can run their loads for three hours on a cloudy day and still have some energy left in their batteries.
| Load | Quantity | Power (Watts) |
|---|---|---|
| Fan | 2 | 55 |
| Incandescent Light Bulb | 1 | 100 |
| Compact Florescent Light Bulb | 1 | 18 |
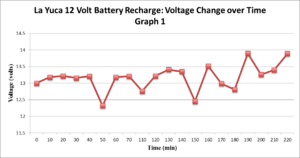
Recharging the La Yuca Batteries
In order to evaluate the health of the batteries, the amount of hours it should take to recharge the 12V system was calculated with math and compared with the amount of time by waiting and testing the battery voltage with a multimeter. It took about three hours for the batteries to go from 60% depth of discharge to completely recharged with a voltage of 13.7. It is normal for the voltage to jump up and down as one can see in the graph. After calculations, the amount of time a healthy battery with a 60% depth of discharge was about three hours, meaning the batteries are healthy. If the batteries would recharge faster than the calculations say, then it is possible they could be damaged. Below is the equation used to determine how long the batteries should take to discharge:
[Total Amperage * Depth of Discharge * 1.1 (Derate Factor) * 12V]
/ Solar Panel Wattage
- Projects
- Practivistas Dominicana Program
- SDG04 Quality education
- SDG07 Affordable and clean energy
- SDG09 Industry innovation and infrastructure
- SDG10 Reduced inequalities
- SDG11 Sustainable cities and communities
- SDG12 Responsible consumption and production
- Photovoltaics
- Solar
- Renewable energy
- Solar energy
- Solar power
- Passive solar
- Batteries
- Construction
- Design
- Electricity
- Energy
