Backpack Delta: Building the Upper Platform
Constructing the Upper Platform
Before You Begin[edit | edit source]
- The parts required for the Upper Platform are:
- Hardware:
- 3 - M3x35mm socket head screws
- 3 - M3 ny-lock nuts
- 6 - M3 Flat Washers
- 6 - 608 Rotary Bearings
- Electronics
- 3 - Limit Switches
- Printed Parts:
- 3 - Idler Ends
- 3 - Platform Spacers
- 3 - Idler Shafts
- Required Tools:
- 1.5mm Allen Wrench
- 2.5mm Allen Wrench
- 5.5mm Combination wrench
- Recommended Tools:
- 3mm or 1/8” Drill bit
- File
- Hardware:
Building the lower platform[edit | edit source]
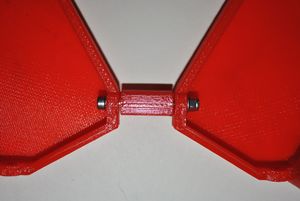
- Take 1 M3 x 35mm and put 1 washer on it. Insert it into one of the two holes opposite the idler mount.
Step One - Slide the screw through the hole in the platform spacer. Make sure the flat part is down.
- Place another idler end on the screw after the platform spacer, followed by 1 washer and 1 ny-lock nut. Do not tighten the nut all the way, keep the nut loose, in order to attach the other two platform spacers. Repeat steps 1-3 for the rest of the idler mounts and spacers. Once complete, tighten all the screws and nuts.
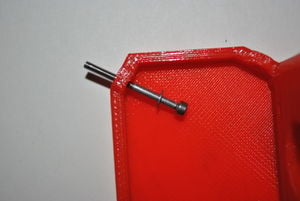
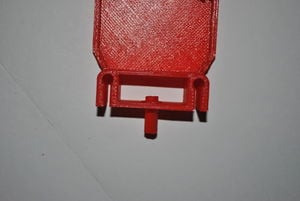
Steps 2 & 3 - Next, insert the idler shaft partly through one of the holes in the idler box.
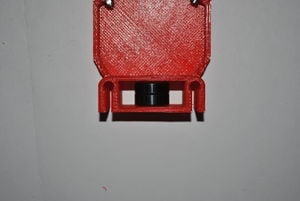
Inserting the Idler Shaft - Take one of the 608 bearings and slide it onto the exposed part of the idler shaft inside the idler box. Push the idler shaft through the bearing. THen take another 608 bearing and place it next to the bearing. Slide the idler shaft through the idler box, so that the bearings are held in place. Repeat for the other two idler ends
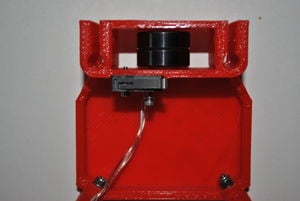
What the bearings should look like. - Now take a limit switch, 2 M2x10 screws and 2 washers. Put the wshers on the M2 screws, and place the screws through the limit switch. Be sure to orient the switch correctly. The open end of the switch should be up, and in the center of the idler end.
The limit switch correctly oriented - Tighten all the screws on the platform spacers. The idler platform is now done.
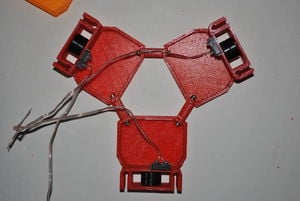
The Upper platform finished


