Zane Middle School portable cubbies
Abstract[edit | edit source]
The objective of Team Tonalites was to construct a set of cubbies for a Catherine L. Zane Middle School teacher to help promote safety in the classroom by creating space for students to place their belongings. The most important part of building the cubbies is making sure they are safe. Each cubby has to be portable to extend the capability of their usage. There are a total of 32 cubbies built. They are made out of medium density fiber board and held together with screws and wood glue. Their light structure makes for easy portability and versatility in the orientation of which they will be placed in the classroom.
-
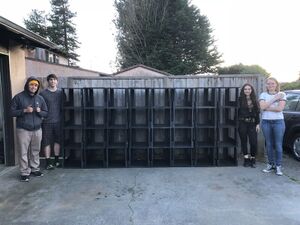
The team and their cubby system.
-
The team and the fully complete cubby system.
Background[edit | edit source]
Catherine L. Zane Middle School representative and science teacher Betsy Elkinton needed cubbies to de-clutter her classroom during labs. The cubbies are intended to provide space for backpacks and remove the issues of backpacks being placed in the pathways between desk.
Problem statement and criteria[edit | edit source]
The objective of this project was to develop a cost-effective cubby system that will be safe and portable for the teacher and students using it. These cubbies should be constructed in a cost effective way, using up-cycled material to accommodate the criteria. The design will ensure the safety of the middle school students who will be using it, while maintaining a light and portable storage system.
Table of Criteria:
| Criteria | Constraints | Weight (0-10 high) |
|---|---|---|
| Safety | Prevent the students or the teacher from getting hurt while using the cubbies. | 10 |
| Portablilty | Easy to move to enable to best fit the classroom space. | 10 |
| Durability | Must hold backpacks and other materials without breaking. | 9 |
| Cost | Budget of $300. | 8 |
Description of final project[edit | edit source]
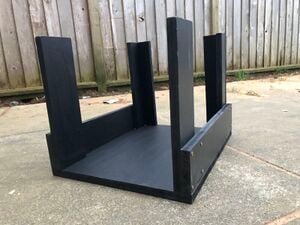
The cubby system includes a total of 32 cubbies which function as individual boxes that can be attached together to form a mass of cubbies. This design considers the desired ease of portability of the cubbies. An individual cubby is 20 inches long, 16 inches wide, and 14 inches and has an absence of a top, which acts as the base for the cubby higher in the column. They also do not have full boarded sides or backs, because they are unnecessary for their function, while reducing cost and weight. The individual cubbies are attached together by velcro on the four posts.
Prototyping[edit | edit source]
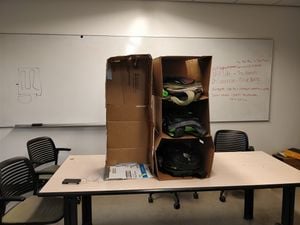
After assembling the prototype cubbies, we learned our design was applicable, although the method of which we were going to use to attach them together was not going to work. We originally were going to use magnets to latch them in place, but the point was brought up that the use of magnets may interfere with any electronics that could be in the students backpacks.
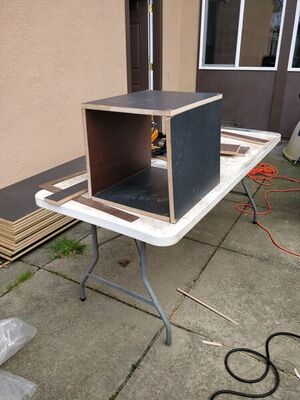
Once we constructed the box with full board sides, we realized it would be far too heavy so we brainstormed other alternatives to use less material. After brainstorming we came up with the final design as shown.
Costs[edit | edit source]
The capital costs for the project stayed within the budget of $176.86. In total, the number of labor hours spent on the design process, from conceptualization to implementation, was 161.
| Quantity | Material | Source | Cost ($) | Total ($) |
|---|---|---|---|---|
| 1 | Velcro(package) | Amazon | 8.62 | 8.62 |
| 7 | Screws | The Mill Yard | 7.58 | 53.06 |
| 1 | Wood Glue | The Mill Yard | 4.78 | 4.78 |
| 2 | Sandpaper | Ace Hardware | 3.79 | 7.58 |
| 2 | Paint | Ace Hardware | 8.01 | 16.02 |
| 16 | Fiber board | Almquist Lumber Company | 5.43 | 86.80 |
| Total Cost | 176.86 | |||
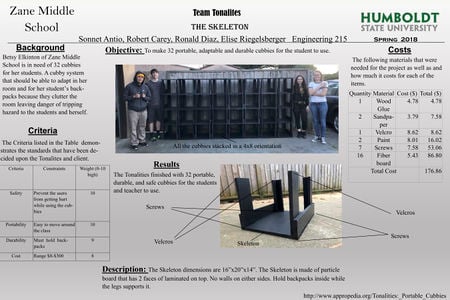
Final Poster[edit | edit source]
How to build[edit | edit source]
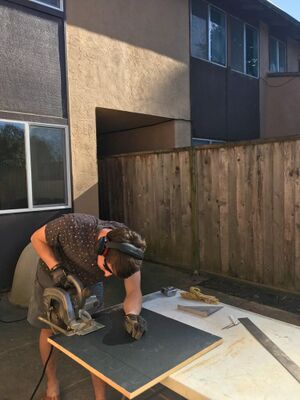
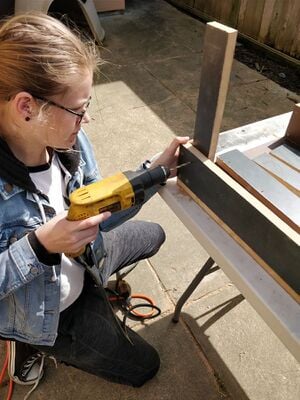
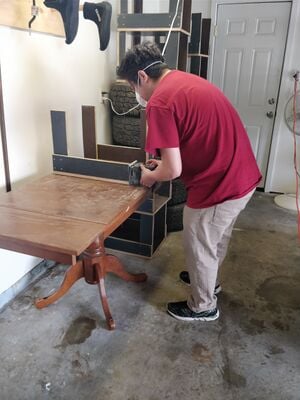
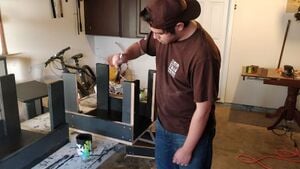
The following is a description of how each cubby was made.
Maintenance[edit | edit source]
The cubbies are very low maintenance. The only things that will need to be kept into consideration over time is the aging of paint and velcro.
Schedule[edit | edit source]
- Monthly
- possibly reapplication of velcro
- Yearly
- check paint if needed
- check screws are secure
Instructions[edit | edit source]
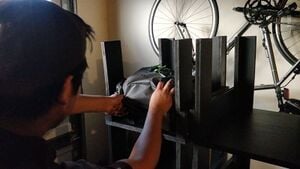
For use of the cubby system, gently place backpack or bag into cubby.
Troubleshooting[edit | edit source]
This is a list of possible problems that may be encountered during regular use, and resolutions for those problems:
| Problem | Suggestion |
|---|---|
| Wood is splitting! | use wood glue to mend it |
| The screws are loose! | rescrew in a different hole |
Discussion and next steps[edit | edit source]
The client was very happy with the functionality of the cubbies, and their application in her classroom. The cubbies are slightly uneven on the top which has been remedied with the application of velcro as a duel purpose of adherence.
Suggestions for future changes[edit | edit source]
Although fiber board was inexpensive and met our cost criteria, the use of plywood would produce a much lighter product. When constructing, the use of a jig would make the process go much faster, as well as have made the boxes consistently more even. Improving the linking system of the cubbies with the use of a dowel and hole system would make the cubbies have less maintenance upkeep.


