Zane Middle School headphone racks
Abstract[edit | edit source]
The purpose of this project was to create 32 inspirational wall mounted headphone racks to be used by students at Zane Middle School. The room they will be used in is Damon Brooks social studies and digital media classroom. The racks are built to hold the headphones in a way that both educates and inspires the students that will be using them. Renewable Potential was brought together by the Engineering 215 - Intro to design class at Cal Poly Humboldt, where we worked together with the client Damon Brooks, representing Zane Middle School.
Background[edit | edit source]
For the past few years Cal Poly Humboldt's Engineering 215 - Intro to Design class has partnered with Zane Middle school in Eureka, CA to create projects on the Zane campus that benefits the school community. Renewable Potential was tasked with the creation of inspirational headphone racks that are to be mounted on the walls of the social studies/digital media classroom. These headphone racks will replace the current headphone storage method which is a dilapidated cardboard box that both damages the headphones and is an eye sore in the classroom. The upgrade to the headphone racks will create a much more appealing classroom environment as well as educating and inspiring the middle school students.
Problem statement and criteria[edit | edit source]
The objective of the inspirational wall mounted headphone racks is to create professional looking racks that will hold headphones in a manner that is not harmful to them, as well as being a source of inspiration to the middle school students that will interact with them on a daily basis. The following table contains the criteria and their respective weight. This list was created by Renewable Potential in collaboration with Damon Brooks from Zane Middle School.
Table 1: Criteria for Final Design
| Criteria | Constraints | Weight |
|---|---|---|
| Cost | Less than $325 ($75 per member plus $100 from client) | 10 |
| Durability | Withstand daily use for one full school year | 9 |
| Safety | Can't be removed from wall by students | 8 |
| Ease of Access | Reachable by 4ft tall student | 7 |
| Aesthetics | Better looking than current storage method | 6 |
| Level of Embodied Energy | Made with at least 25% upcycled material | 5 |
Description of final project[edit | edit source]
Photos and descriptions[edit | edit source]
Sometimes, a picture with a caption is worth a thousand words.
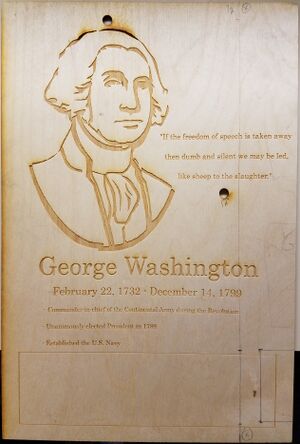
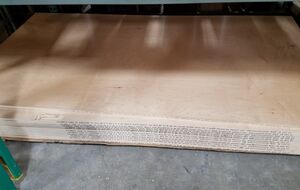
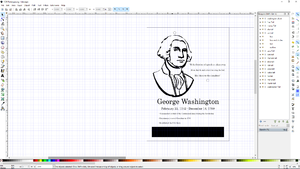
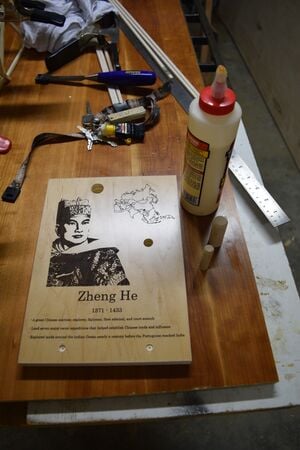
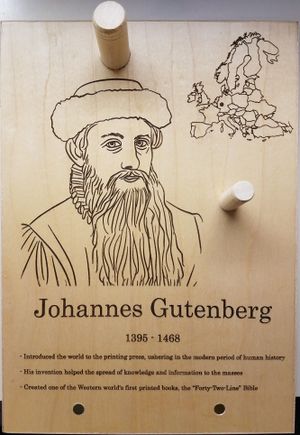
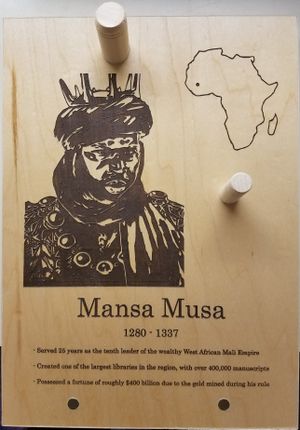
The Inspirational wall mounted headphone rack, shown in Figure 1, is a headphone rack that not only serves the purpose of a headphone rack but it also is a source of inspiration to students. It consists of a pre laminated plywood backboard. On the surface of the board there is a laser engraved historical figure that pertains to what the teacher is teaching when the room is used for the social studies part of the class. Below the figure is their name followed by the dates showing their lifespan, and a few bullet points describing important parts of the figures life and the reasons why they are remembered. Above the figures head is a 3/4" dowel that is imbedded in the board and secure with strong wood glue so it can not be removed. this dowel is used to hold the headphones above the figures head. Located to the right of the right of the figure is a 1/2" wooden dowel that is secured in the same manner as the 3/4" dowel. This dowel is used to hold the cord of the headphones. This protects the cord from getting damaged and it allows easier access to the headphones. above the dowel is an engraved map with a dot placed at the figures place of birth. This givers the students context as to were the figure is from.
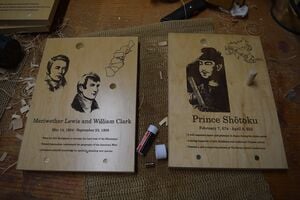
Due the limited space available behind some of the computer stations, two different sized boards were needed. 24 of the racks are 8" x 12" x 3/4", these ones are used for the majority of the classroom where there is space to place them behind the station in the location on the wall that allows easiest access for the students. The other 8 racks are a smaller size because of the limited amount of space behind the station. These racks have the Name of the figure across the top of the board instead of under the figure like the larger sized rack. Their lifespan date is under the birthplace map instead of under the name like in the larger rack. Other than those changes the rest of the text is in the same location.
-
Figure 1: Picture of a completed tall headphone rack.
-
Figure 2: Picture of a completed short headphone rack.
-
Figure 3: Picture of a completed tall headphone rack with call-outs.
Prototyping[edit | edit source]
Prototyping is a critical stage in the overall construction of the finished headphone racks. In order to reach the final design, multiple iterations of prototyping were required. The following section illustrates the teams testing and prototyping process.
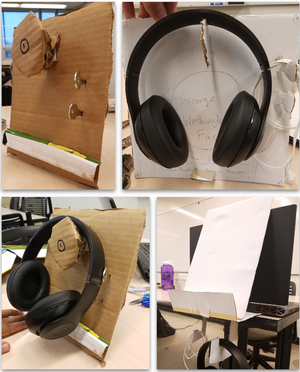
The first set of prototypes created were built to function as the final design would. This was accomplished by using cardboard to create accurate dimensions that were similar to what we wanted the final product to look like. This allowed us to make sure that the information the we want on each rack will fit on the backboard, as well as making sure that when the headphones are hung on the rack they would not cover any of the text on the board.
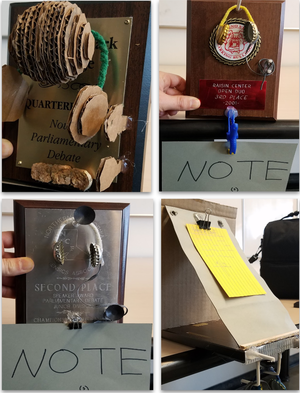
The second prototypes built were created to look similar to the teams vision of the final product. This meant using materials similar to those that we plan to use on the final(wood). However, unlike the first set of prototypes, these were less concerned with proper size and fit and more focused on look. This set was brought to the client Damon Brooks to receive any feedback that he had on the design before proceeding to the next step.
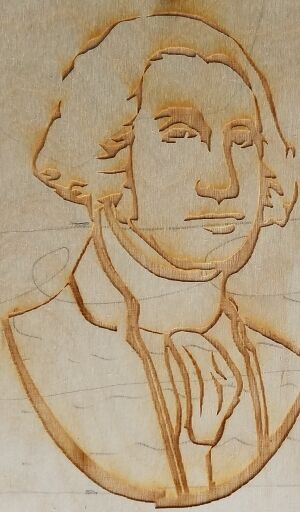
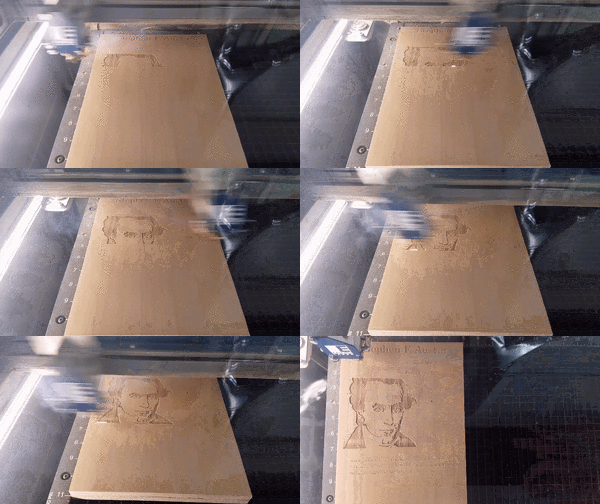
Once feedback was received from the client, the first laser engraved headphone rack was created. This allowed for the first visualization of what the final design would look like. We were then able to slightly alter the settings of the laser cutter to allow all aspects to fit properly on the board.
Lessons learned[edit | edit source]
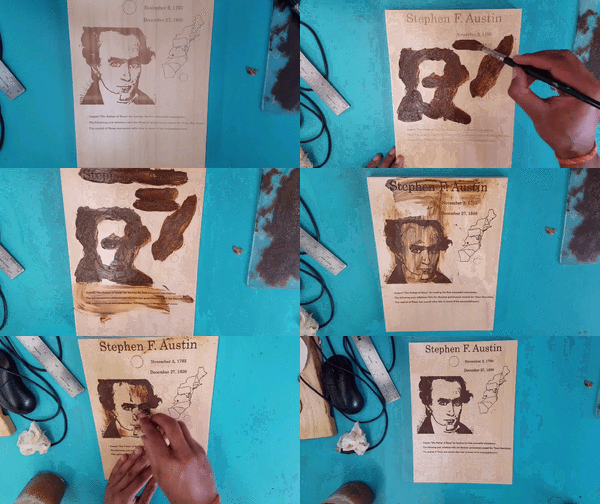
Through the construction of the prototypes we were able to learn a lot before we began working on the final product. This first lesson learned was from the first set of prototypes. Due to the use of accurate dimensions it was visible that the size we originally though would work turned out to be too small to fit all the text and the historical figure. Finding this out in the prototyping phase was great because it allowed us to make changes without wasting the expensive materials used for the final. The second lesson learned was regarding the contrast of the rack. Only using the laser cutter created a poor contrast between the engraved sections and the backboard thus making reading the text from a distance nearly impossible. We were able to deepen the contrast with the use of acrylic paint. Painting only the engraved sections made the text and figure much more visible.
Costs[edit | edit source]
Material and construction costs include any material or labor cost that became a part of our overall total cost of the project. We were lucky enough to be able to use all the tools needed for construction for free which significantly lowered the total cost and allowed us to remain under our budget of $325.
Table 2: Material and Construction Costs
| Materials | Quantity | Cost |
|---|---|---|
| 4' x 8' x 3/4" pre-laminated maple plywood sheet | 1 | $75.29 |
| 4' x 8' x 3/4" Mislay plywood sheet | 1 | $47.42 |
| 5/16" Neodymium Magnets | 100 | $32.40 |
| Ceramic Magnets | 60 | $33.60 |
| 3/4" Maple Dowel | 2 | $6.36 |
| 1/2" Maple Dowel | 2 | $13.47 |
| Maple Edge Band | 100 | $22.63 |
| TOTAL | $231.17 |
Costs (Hours)[edit | edit source]
Figure 4 illustrates a graphical representation of the total design costs in terms of hours for the design.
-
Figure 4: Renewable Potential Design Hours
Testing Results[edit | edit source]
Twenty-eight individual headphone racks were installed in Damon Brooks social studies and multimedia classroom. One rack was installed per station, while an additional five racks are held in storage in the classroom to be used as replacements or in the case that more stations are added to the classroom. The racks have proven to be an intuitive design, allowing students to easily display daily assignment and store their headphones on a regular basis.
Poster[edit | edit source]
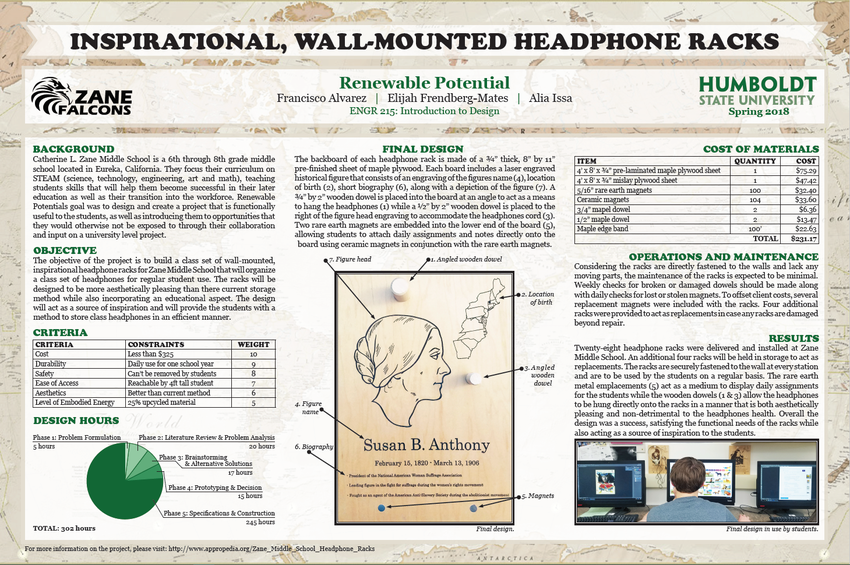
This the the final poster for Renewable Potential's Headphone rack design project.
Video[edit | edit source]
This is a video made by Renewable Potential to showcase the strengths of their headphone rack design.
How to build[edit | edit source]
The following table is a set of step by step instructions to show how to build a headphone rack.
Maintenance[edit | edit source]
Maintenance is important in order to keep the headphone racks looking professional and functioning properly. However, very little regular maintenance should be required for the racks due to their simple construction.
Schedule[edit | edit source]
Maintenance on the headphone racks does not follow a specific schedule, because if used properly, the functional lifespan should match that of the classroom itself with no upkeep required. However, if something does break, the aspects of the headphone rack that may need maintenance include the wooden dowels, the rare earth magnets and the ceramic magnets. In the event that the magnets are lost or stolen, they can quickly and easily be replaced. Rare earth magnets are replaced in their holes with superglue, and ceramic magnets can be simply placed on the magnetic spot on the rack. If one or both of the dowels break, the quickest way to fix the safety hazard would be to completely remove the broken rack and replace it with one of the backup racks provided.
- Daily
- Check the headphone racks for any broken, stolen, or lost magnets and replace when necessary
- Check for any cracked or broken dowels (if found, immediately replace rack to eliminate safety hazard)
- Long Term
- Check the dowels for cracks and loosening in their sockets
- Observe the engraved faces for signs of wear or scratches
In the event that the need for serious maintenance is identified, replace the broken rack with one of the backup racks provided.
How to perform maintenance[edit | edit source]
Troubleshooting[edit | edit source]
The following table is a guide that details some common problems faced by headphone rack users and solutions to each problem.
| Problem | Solution |
|---|---|
| Magnet not properly attaching to the board | Flip the orientation of the ceramic magnet |
| Broken/splintered dowel | Completely unscrew the rack from the wall and replace with one of the provided extra racks |
| Ceramic magnets missing | Replace with provided extra ceramic magnets |
| Rare earth magnets missing | Replace with 5/16" diameter rare earth magnets and superglue |
| Major crack/scratch in the rack face | Completely unscrew the rack from the wall and replace with one of the provided extra racks |
Discussion and next steps[edit | edit source]
The completed headphone racks are an elegant solution to the cardboard box organization problem. The students were very excited to recognize figures on the headphone racks from their studies in class. The racks were all very securely affixed to the wall, and the client seemed satisfied that the racks were both safe and looked elegant. Renewable Potential is very satisfied with the outcome of the rack project and is pleasantly surprised at the amount of commercial interest expressed by others. Hopefully, these racks will continue to inspire students for many years into the future. The next steps of the project are to fix any damage that the racks incur from student use and to replace any magnets that get stolen or lost.
Suggestions for future changes[edit | edit source]
- Before purchasing lumber:
- Choose pieces that have minimal defects
- eg.: scratches, finish imperfections, knots, fissures or holes in the lay, warping
- Price match all available types of the size of lumber needed (some species of wood behave similarly and look similar for radically different prices)
- If laser engraving, choose lighter wood tones
- Budget permitting, buy pre-routed dowels to avoid having to spend time fashioning them yourself
- This helps avoid imperfections in cutting, rounding, and engraving the dowels
- Match edge tape to the wood finish to ensure continuity
- Buy high quality edge tape to avoid issues with adhesive and color matching
- Include blade width in cut measurements to avoid cutting off more wood than intended
- Do not engrave pilot markings onto boards
- Removes the flexibility to make further alterations
- It is difficult to line up the power tool cuts exactly with the engraved pilot markings
Team Members[edit | edit source]
- Francisco Alvarez Appropedia site


