3D Printed Adult Male Tibial Bone Models/Check Print Settings

Check Print Settings[edit | edit source]
Please pay attention to and follow all the instructions closely to ensure the bone models are printed properly and display the required visual, tactile, and acoustic fidelity for orthopedic surgical simulation training.
- Review the custom print settings checklist to verify that each print file was properly prepared and click on the checkboxes to check the most appropriate response.
- Print the custom print settings checklist below for the 3D printed sample models by clicking on the "Download PDF" button in the upper righthand corner of this screen and selecting "Layout: Portrait" option for printing.
- Write the date of inspection and print and sign your name at the bottom of the checklist.
- File and save a back-up copy of the completed and signed checklist for your production and inspection records.
| # | Print Setting for Fused Filament Fabrication 3D Printer | Reference Screenshot | Check the most appropriate response for Model #1 | Check the most appropriate response for Model #2 |
|---|---|---|---|---|
| 1 | Filament Material: PLA (if you have previously modified any values from the 3D slicer program's default settings for PLA filament, please change these values back to the default settings by clicking on the circular arrow to the left of each modified setting) | 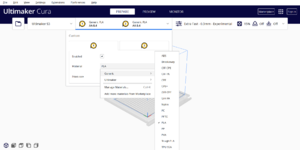 |
Done Correctly Done Incorrectly Not Done |
Done Correctly Done Incorrectly Not Done |
| 2 | The Circular Base of Model #1 and #2 Lies Flat On The Build Plate | 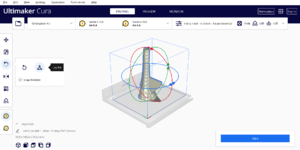 |
Done Correctly Done Incorrectly Not Done |
Done Correctly Done Incorrectly Not Done |
| 3 | Identical Scale Factor Used for Models #1 and #2 | 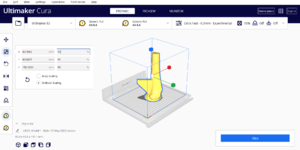 |
Done Correctly Done Incorrectly Not Done |
Done Correctly Done Incorrectly Not Done |
| 4 | Support: None | 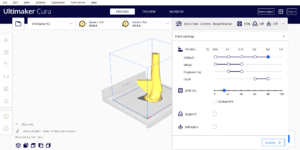 |
Done Correctly Done Incorrectly Not Done |
Done Correctly Done Incorrectly Not Done |
| 5 | Layer Height Is 0.15 mm To 0.3 mm Or Less | 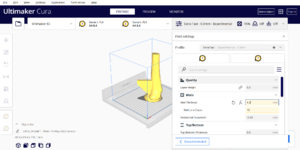 |
Done Correctly Done Incorrectly Not Done |
Done Correctly Done Incorrectly Not Done |
| 6 | Wall Thickness: 6.2 mm (this changes the Wall Line Count) |  |
Done Correctly Done Incorrectly Not Done |
Done Correctly Done Incorrectly Not Done |
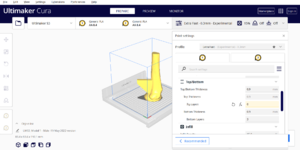
| 7 | Top Layers: 0
Bottom Layers: default value (not 0) |
 |
Done Correctly Done Incorrectly Not Done |
Done Correctly Done Incorrectly Not Done |
| 8 | Infill Density: 15% | 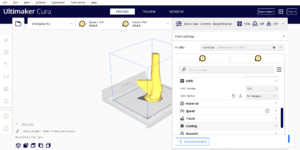 |
Done Correctly Done Incorrectly Not Done |
Done Correctly Done Incorrectly Not Done |
| 9 | Infill Pattern: Tri-Hexagon |  |
Done Correctly Done Incorrectly Not Done |
Done Correctly Done Incorrectly Not Done |
| 10 | Print Speed: default (unmodified) value for PLA Filament | 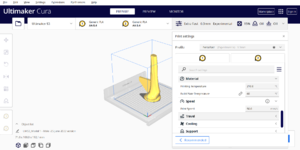 |
Done Correctly Done Incorrectly Not Done |
Done Correctly Done Incorrectly Not Done |
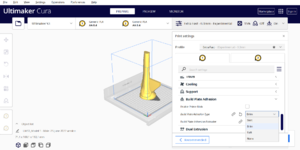
| 11 | Build Plate Adhesion Type: Skirt or Brim (follow the build plate manufacturer's recommendations for using a brim to ensure adhesion of PLA to the build plate)
No Raft |
 |
Done Correctly Done Incorrectly Not Done |
Done Correctly Done Incorrectly Not Done |
| 12 | Print Speed on 3D Printer Control Screen Is Set to Manufacturer's Default Value of 100% | 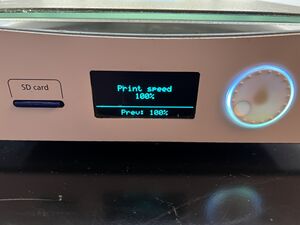 |
Done Correctly Done Incorrectly Not Done |
Done Correctly Done Incorrectly Not Done |
| 13 | (Optional) PLA filament has a Technical Data Sheet with a Shore Hardness D value between 79D to 93D[1][2][3] | 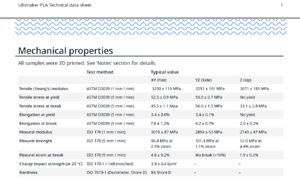 |
Yes No Not Available |
Yes No Not Available |
Checklist items #1 to 12 must be checked as "Done Correctly" for Models #1 and #2 in order to proceed with 3D printing sample models.
Checklist Completion Date (Day-Month-Year):
Completed By (First Name and Last Name):
Signature:
Proceed to the next step by clicking on the "Next" button in the Menu box in the upper right section of this page.
Acknowledgements[edit | edit source]
This work is funded by a grant from the Intuitive Foundation. Any research, findings, conclusions, or recommendations expressed in this work are those of the author(s), and not of the Intuitive Foundation.
References[edit | edit source]
- ↑ www.prusa3d.com/file/370474/technical-data-sheet.pdf
- ↑ Ultimaker. Ultimaker PLA Technical Data Sheet [Internet]. Ultimaker Support. [cited 2021 July 29]. Available from: https://support.ultimaker.com/hc/en-us/articles/360011962720-UltimakerPLA-TDS.
- ↑ https://support.ultimaker.com/hc/en-us/articles/360011962720-Ultimaker-PLA-TDS
