This special page shows all uploaded files.
| Date | Name | Thumbnail | Size | Description | Versions |
|---|---|---|---|---|---|
| 18:13, 3 May 2012 | Acoustic Dampening Design Hours.jpg (file) |  |
89 KB | Team SAND's design hours spent on each section of the design process | 1 |
| 05:47, 26 April 2012 | Panel Build Step 12.jpg (file) |  |
128 KB | Panel is finished! | 1 |
| 05:44, 26 April 2012 | Panel Build Step 11.jpg (file) | 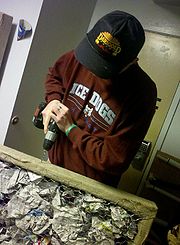 |
92 KB | Drill a centered 1/8 inch hole at the top of the frame for a 2 inch long bolt to connect to the mounting bracket. | 1 |
| 05:40, 26 April 2012 | Panel Build Step 10.jpg (file) |  |
113 KB | Fill fabric covered panel with filling such as newspaper, dry trash, wool, or (but not limited to) insulation. Then cover with chicken wire and staple secure. | 1 |
| 22:47, 25 April 2012 | Panel Build Step 9.JPG (file) | 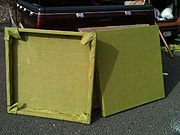 |
114 KB | Panels after fabric covering. | 1 |
| 22:45, 25 April 2012 | Panel Build Step 8.JPG (file) | 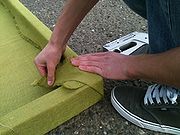 |
144 KB | Fold left over fabric corner over and staple within frame. We did not cut it due to fear of fraying. The corners will be hidden once panel is filled. | 1 |
| 22:41, 25 April 2012 | Panel Build Step 7.JPG (file) | 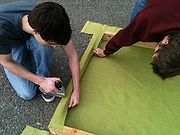 |
124 KB | After cuts have been made. Stretch fabric over frame and staple. Depending on the fabric the may require multiple people and/ or stretching processes. | 1 |
| 22:28, 25 April 2012 | Panel Build Step 6.JPG (file) | 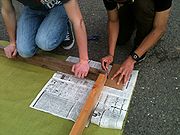 |
135 KB | Using a newspaper template, mark on the previously cut fabric to properly fold on the corner of the panel frame. This can be done in multiple ways and is mostly based on the users preference. | 1 |
| 22:44, 9 April 2012 | Panel Build Step 5.jpg (file) | 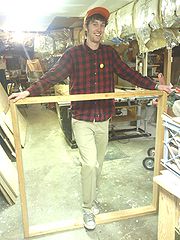 |
1 MB | Repeat step 3 and 4 until frame is fully assembled. | 1 |
| 22:42, 9 April 2012 | Panel Build Step 4.jpg (file) | 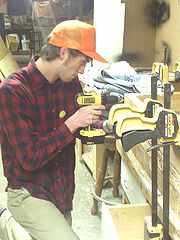 |
836 KB | Drilling pilot holes on the joint. One and half inch screws were then used to attach the two sides. | 1 |
| 22:39, 9 April 2012 | Panel Build Step 3.jpg (file) | 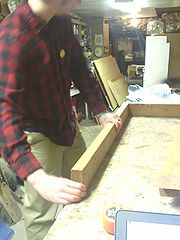 |
747 KB | Putting the cut sides of the frame together which are ready for assembly. | 1 |
| 22:34, 9 April 2012 | Panel Build Step 2.jpg (file) | 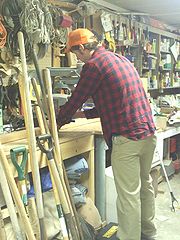 |
941 KB | Second of the frame building process is then to cut to boards to appropriate lengths. A chop, skill, or table saw works best for this step. | 1 |
| 22:30, 9 April 2012 | Panel Build Step 1.jpg (file) | 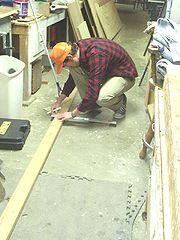 |
744 KB | First step of building the frames of the acoustic panels. Measuring 2x4's to appropriate lengths for your individual design. | 1 |
| 07:08, 6 April 2012 | Design Hours.jpg (file) | 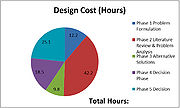 |
77 KB | Design hours of Acoustic Dampening Design | 1 |
| 19:12, 24 January 2012 | Biking chico 3209.JPG (file) |  |
4.36 MB | Racing for HSU in Chico CA | 1 |