The following steps differ from the normal Prusa directions.
Step 12 - Mounting the Einsy-base (part 2)
The X-axis motor cable may not be long enough to route through the slot indicated in the directions. To test this move the X-axis motor up and down the Z-axis. If the cable becomes tight, then route the X-axis cable through the top hole in the Einsy-base (with the other cables from the extruder carriage).
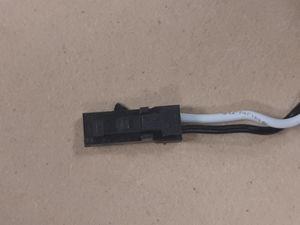
Example pin header that needs to be cut. Notice the notch on the top of the header. This needs to be removed in order to fit in the Eisny boardSome of the pin headers may have locking mechanisms on them that are not compatible with the Einsy. If this is the case carefully cut them off.
If any wires are too short, you will have to extend them using another wire and soldering them together. No wires should be tight.
At the end of this section, if you have any extra wires that don't connect to the Einsy board (they are on your printer but where not mentioned in the guide) you should:
Double check the guide to make sure you did not miss a step
Label them
Bind them with bind them electrical tape to cover any exposed wire
Tie them down underneath the printer with the other wire bundles