Introduction[edit | edit source]
A monochromator is a device that takes a light source of a specific wavelength and spatially separates the colors by either using a prism or a diffraction grating. The prism results the light to be separated by optical dispersion, while the diffraction grating uses methods of diffraction. An automatic scanning spectrometer is used in conjunction with the monochromator to record the changes in data as a function of wavelength. There are many other options pertaining to the relationship between the spectrometer and monochromator, such as using an absorption spectrometer. [1]
This project was completed by Samantha Dertinger and Jeremy Wales.
Safety[edit | edit source]
Avoid looking directly at the light source as it can damage eyesight.
Equipment or Bill of Materials[edit | edit source]
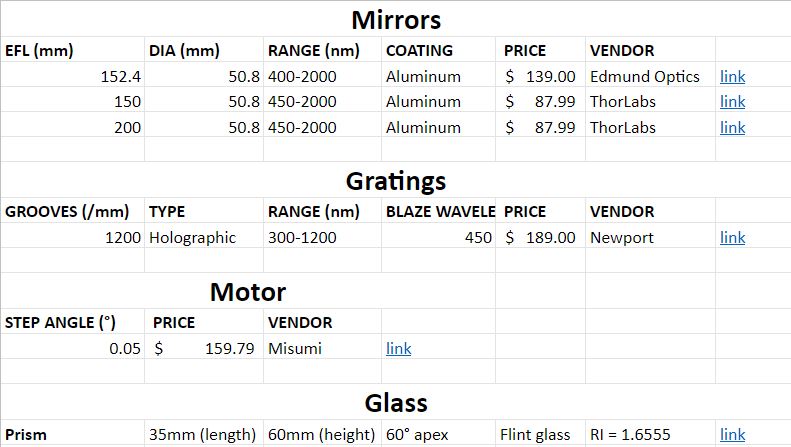
The list below contains all of the ordered parts for the Monochromator. Further parts, such as the 3D-printed parts and electronics, are listed below the image.
3D-printed Parts Using Black PETG:
- Device box
- Device Lid
- Mirror Holders
- Diffraction Grating Holder
- Manual Lightsource Slider
The STL and source codes for these parts can be found on Thingiverse: https://www.thingiverse.com/thing:4023098
Electronics:
- Arduino Nano with Appropriate Wires
- Ocean Optics UV-VIS-NIR Lightsource
- NIRQUEST Near-Infrared Spectrometer
Calibration & Tolerances[edit | edit source]
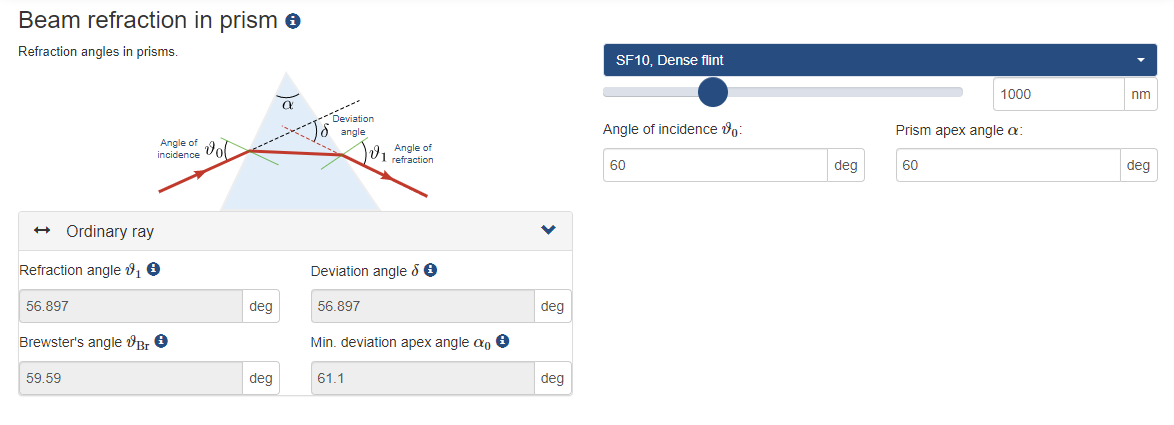
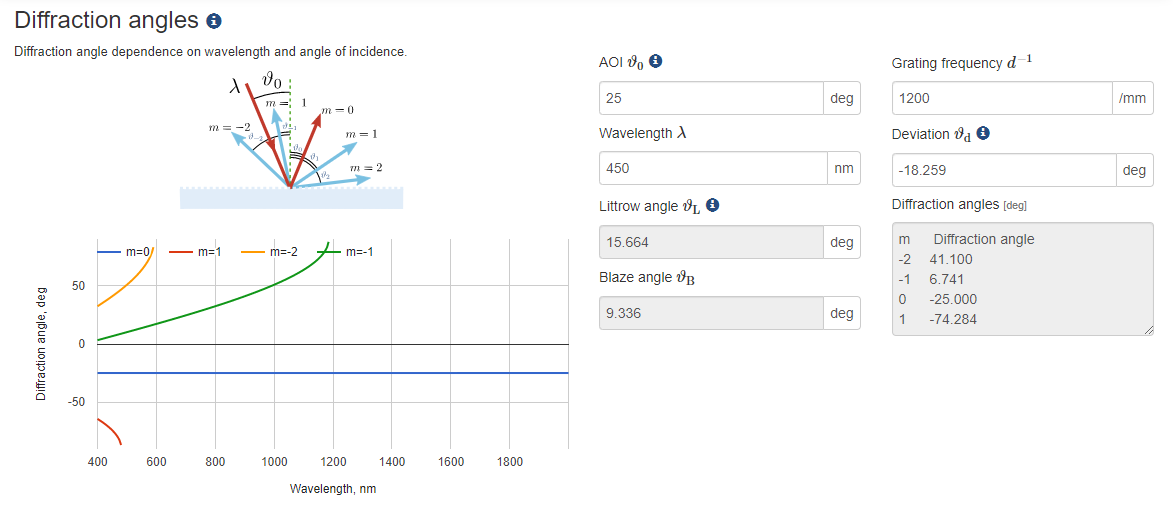
The computations below were done by using interactive, online calculators. The links for each are given below their appropriate figure.
Beam Refraction in Prism Computation[edit | edit source]
Grating Computation[edit | edit source]
Diffraction Angle Computation[edit | edit source]
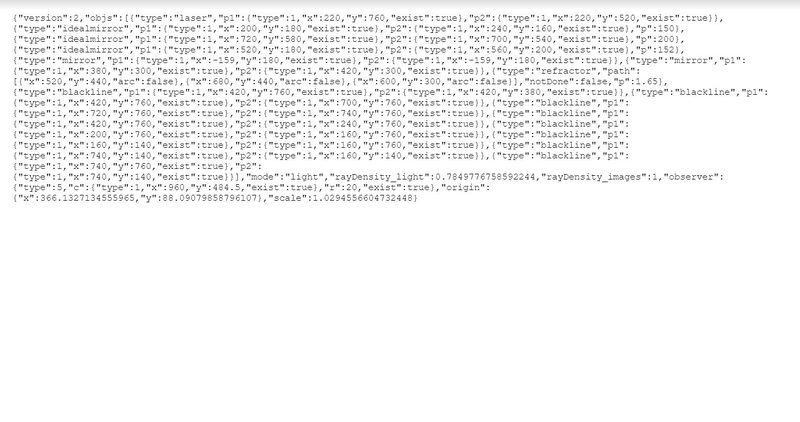
Ray Tracing[edit | edit source]
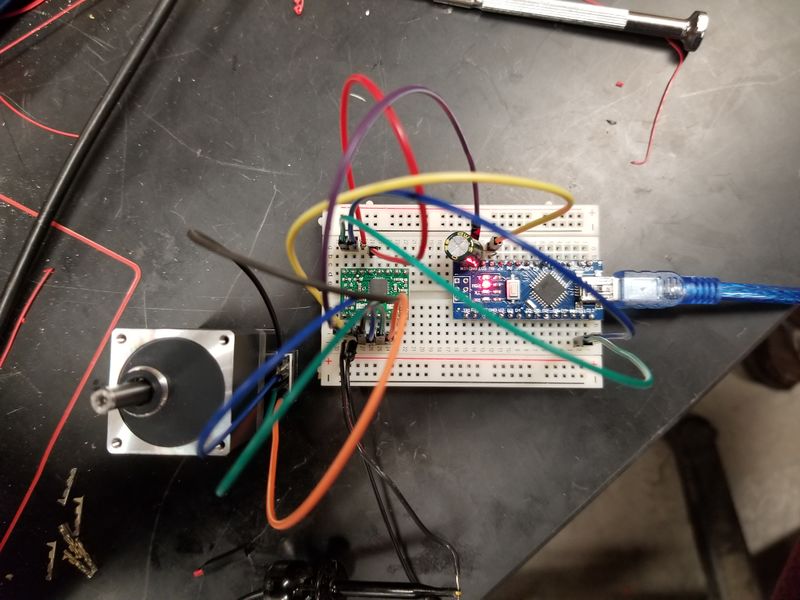
Wiring[edit | edit source]
The wiring is shown in the figure below.
This is the code used to control the stepper motor
const int stepPin = 12;
const int dirPin = 11;
void setup() {
 // Sets the two pins as Outputs
 pinMode(stepPin,OUTPUT);
 pinMode(dirPin,OUTPUT);
}
void loop() {
 digitalWrite(dirPin,HIGH); // Enables the motor to move in a particular direction
 // Makes 200 pulses for making one full cycle rotation
 for(int x = 0; x < 200; x++) {
   digitalWrite(stepPin,HIGH);
   delayMicroseconds(500);
   digitalWrite(stepPin,LOW);
   delayMicroseconds(500);
 }
 delay(1000); // One second delay

 digitalWrite(dirPin,LOW); //Changes the rotations direction
 // Makes 400 pulses for making two full cycle rotation
 for(int x = 0; x < 400; x++) {
   digitalWrite(stepPin,HIGH);
   delayMicroseconds(500);
   digitalWrite(stepPin,LOW);
   delayMicroseconds(500);
 }
 delay(1000);
} [/code]
Operation & Procedure[edit | edit source]
- 3D print all the necessary parts, this should take about 24
- Program the stepper motor using the Arduino nano for the diffraction grating
- Place the lid on the box
- Turn on the lightsource and spectrometer
- Adjust the manual slider to allow the desired amount of light into the spectrometer
- Use as desired
Shutdown[edit | edit source]
To shut off the system, turn off the lightsource and spectrometer, and unplug them from the wall.
References[edit | edit source]
[1] Wikipedia, "Monochromator". https://en.wikipedia.org/wiki/Monochromator
[2] Optics Toolbox, "Beam Refraction in Prism", http://toolbox.lightcon.com/tools/prismrefraction/
[3] Optics Toolbox, "Grating Calculator", http://toolbox.lightcon.com/tools/gratingcalculator/
[4] Optics Toolbox, "Diffraction Angles", http://toolbox.lightcon.com/tools/diffractionangles/
[5] Ray Optics Simulation. https://ricktu288.github.io/ray-optics/simulator/


