This is the Operation and Maintenance (O&M) manual for CCAT greenshed cob wall. Please refer to it and keep it up to date with any O&M changes.
Summary[edit | edit source]
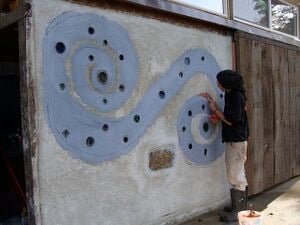
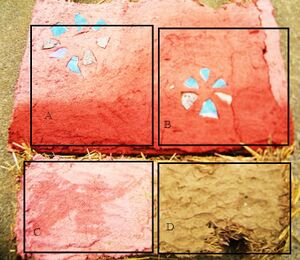
The CCAT Greenshed Cob Wall was constructed using cob (a combination of water, clay, sand and straw), recycled glass, and a cob and lime plaster. Eighteen 'liters of light' were made from recycled glass bottles. A granite slab shelf inside the shed sits below a glass plate window. The cob wall is a frameless single mass, and was selected for the south wall of the Greenshed because of its high thermal mass capacity. Well built cob walls are known to be incredibly long lasting, but are prone to rotting in a wet climate such as Humboldt County's if they are not allowed to 'breathe' and are not protected from the rain.
Maintenance[edit | edit source]
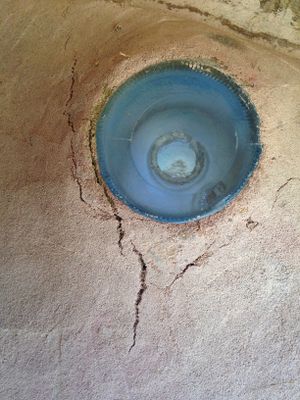
The Greenshed's overhanging roof provides an effective amount of protection from the rain, but humidity levels and normal wear and tear may start to cause the plaster to deteriorate overtime. Settling or earthquakes may cause more distinct faults in the cob. Minor cracks (Fig. 1.) in the walls do not pose a serious threat to the structural integrity of the structure. Larger faults still may not cause serious threat to the wall, but are better off repaired with a patch. In the event that cracks or faults begin to worsen, keep in mind that the cob wall needs to breathe. Refrain from making repairs with a plaster made from cement. Cement plasters tend to be less hygroscopic (able to take on and give off amounts of water vapor in response to humidity changes) and less flexible.
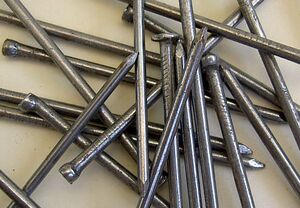
- It is best NOT to hang anything from or place nails into the cob wall. Use the wooden frame for such purposes instead.
- Overtime, a wall may start to bulge or lean. NEVER try to fix a leaning wall using a hydraulic or leveraging system. If a lean in the cob wall begins to approach an unsafe limit, the best mode of action is carefully dismantling the wall and rebuilding.
- STITCHING FOR A CRACK OR FISSURE (See Instructions section below): Create a 'stitch' across a crack or fissure by using an earthen or lime plaster. A lime plaster is recommended over an earthen plaster for repairs because it reduces shrinking by 50%.
- FILL & PATCH FOR A FAULT OR CAVITY (See Instructions section below): To create a 'fill and patch' for a fault or cavity, it is important to create a mechanism for the old cob to attach itself to the new cob.
- PLASTER TOUCH-UP (See Instructions section below): Touching up the plaster is more for aesthetic reasons and not absolutely necessary. It can be helpful if the plaster is beginning to wear away or fade.
Instructions[edit | edit source]
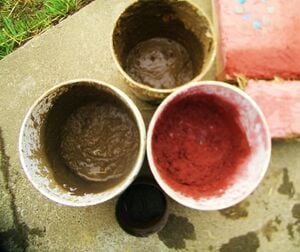
Prepare a lime plaster. Use a similar one to the one listed on the CCAT greenshed cob wall page.
Dampen the immediate area with an even spraying mechanism to prevent the wall from too quickly absorbing the water out of the fresh plaster.
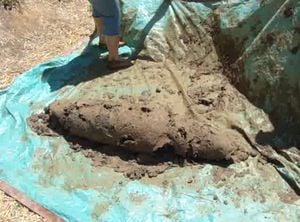
Carefully ram the cob mix into the cavity.
Allow to dry
Prepare a lime plaster. Use a similar one to the one listed on the CCAT greenshed cob wall page.
Dampen the immediate plastered wall area with an even spraying mechanism to prevent the wall from too quickly absorbing the water out of the fresh plaster.
Patch up any cracks or faults first
Prepare a lime wash (lime putty, water, and desired pigment)
Dampen the wall with water as evenly as possible using a spraying mechanism. This step is important in preventing the wall from absorbing water from the lime wash.
Use brushes to apply lime wash and let dry thoroughly
Schedule[edit | edit source]
- Monthly
- Check for severe cracks or faults in the wall
- Yearly
- Check for severe cracks or faults in the wall
- Decide whether or not the plaster needs a touch-up
- Clean off the 'liters of light'
