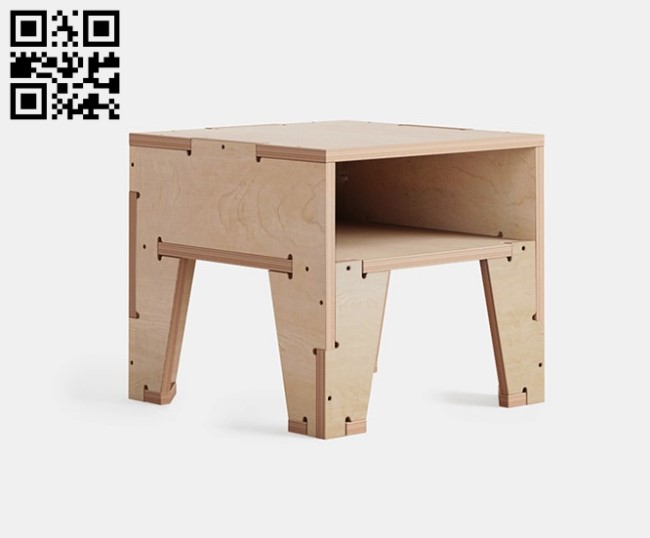
 Rendered 3D model.
This project has been carried out as part of the Digital Innovation and Manufacturing Workshop subject. It consists of the development and design of a piece of furniture for Techo El Salvador. With this, we seek to provide furniture that meets the diverse needs and requirements of Salvadoran families.
Contents
Description
The product is a square wooden table, made up of a total of 11 pieces that include the table surface, shelves, bases and tabs. This design is aimed mainly at people whose homes have the minimum characteristics for their comprehensive development. Only basic carpentry knowledge is needed to make it. The product seeks to solve furniture arrangement problems through optimal use of the total space of the home and, at the same time, seeks to fulfill its main functionality of storing objects.
Problem
For this project, we wanted to provide a cheap and efficient solution to furnish one of the houses of the Techo social benefit association, which would allow good use of the reduced space available, while fulfilling an important function within the home. For this case, it was decided to make a table with shelves, which can function as storage and, for example, so that children can do homework. The design hypothesis was based on the fact that it should be a small and easy-to-assemble product, reducing waste in the use of material as much as possible and minimizing cost by making fewer cuts. This arises because, being a non-profit organization, there are not many resources available, so the solution must be oriented to this reality.
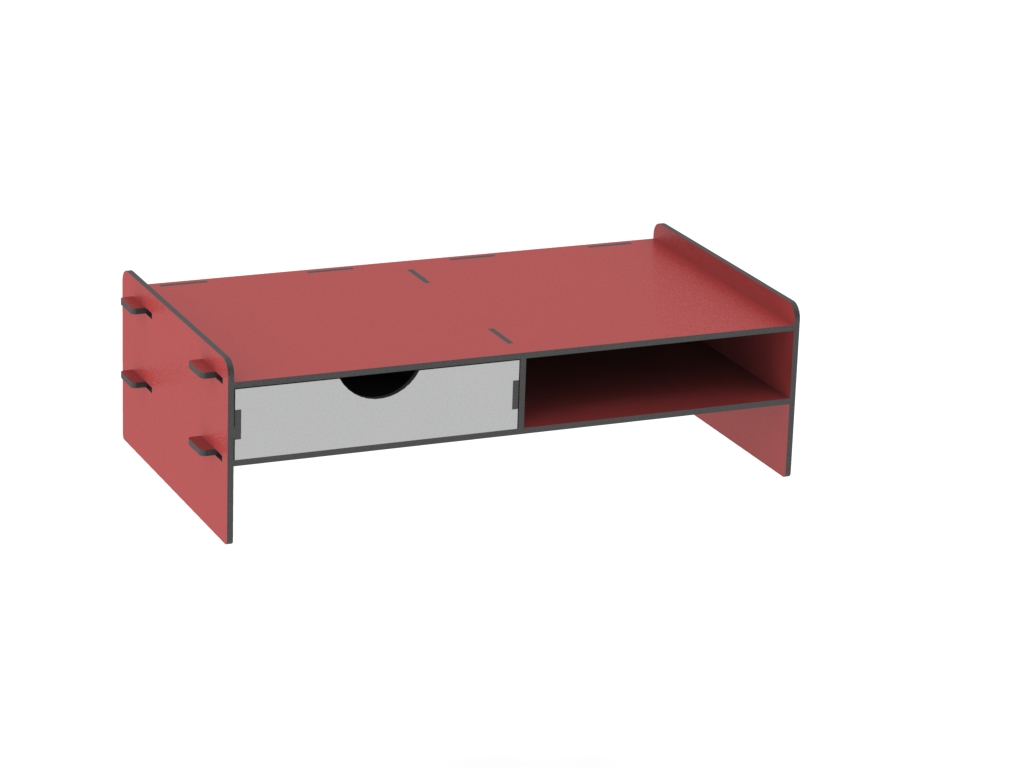
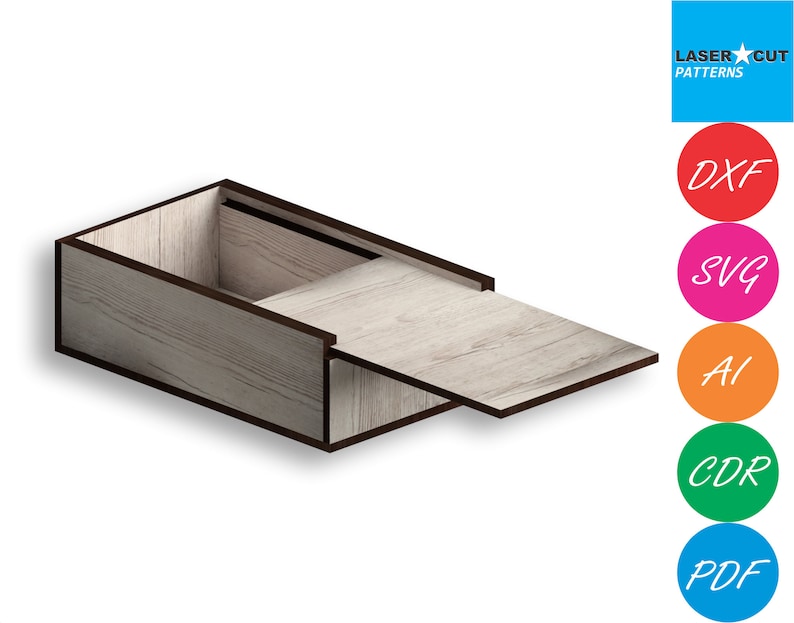
Before the design process, similar projects were consulted where the table had storage, or was simply made with laser cutting. Among them, nightstands , tables with drawers , drawers with sliding lids , shelves , tables with shelves , outdoor tables , among others. These served as both general inspiration for the design and as a guide on possible joints, shape of the pieces, etc.
Design process
For the design, it began with a brainstorm about what type of furniture to make, which followed certain criteria described soon. Then, possible designs were drawn, to then choose one and make a pretotype. Finally, a scale laser cut prototype was made, and the respective document was created for life-size cutting.
The criteria set for the design were:
- The design would be a table that allows storage of any type within it.
- The table should be square, as a measure to take advantage of the available space.
- It should not occupy more than one square meter of surface.
- The pieces must be organized to reduce the amount of wood to be used.
- If used outdoors, an alternative must be found to protect it from environmental elements.
- It must be easy to assemble, that is, have few pieces and they can be placed logically to avoid assembly problems.
In addition, 10 alternative designs were made, which can be seen by clicking on this link .
 Figure 1. Table with shelves.
Once the initial designs were made on paper, the usefulness of each one was analyzed and how feasible they really were when designing them through digital tools, at the time of cutting and also during their assembly. Most were discarded because in order to be assembled, it was necessary to use nails, screws or even rails, for their proper functioning. Considering that the project is aimed at making a product that is easy to assemble, and that does not need extra elements, the design shown in Figure 1 was chosen. One of the main motivations for choosing this was that, as will be seen in the 2D designs and 3D modeling, the way they are joined is quite simple. It consists of a cut in each of the pieces that must be joined, which fits perfectly within the cut of the joined piece. This reduces time on the laser cutter, which should reduce its cost, and makes it easier to assemble for anyone who wants to do so.
 Figure 2. Table design in Paint.
After having chosen the design to use throughout the digital manufacturing and prototyping process, a second guide drawing was made, this time, using the Paint tool. The illustration shown in Figure 2 functioned primarily as a guide to understand the location of the pieces, see what position the joints should be in, and understand which sections might need extra support to avoid accidents while in use.
 Figure 3. Paper prototype.
Once this decision was made, and important features were seen for the design to work, a pretotype was made on paper. In this one, each of the pieces was cut, but, because it is not a rigid material, tape was used to hold them together. Like the design in Paint, it served to obtain a basic idea of what had to be done so that the pieces fit together correctly, and the shape that each one should have to make the best use of the material.
 Figure 4. Cardboard pretotype.
After making the pretotype on paper, it was replicated on cardboard, as seen in Figure 4. Like the first, it served to find possible flaws in the design, before entering a digital design process. In this, you can see how the fits are going to work, something that, on paper, was not so easy to see. In addition, it was found that there are certain sections that present greater weakness and that must be reinforced with small pieces of wood to solve this problem.
 Figure 5. 2D design of parts.
As the next step, the 2D design was carried out (Figure 5) and its subsequent 3D modeling (Figure 6). For both cases, the Sketch Up program was used, which allows the creation of designs with geometric figures in a fairly simple way, in addition to being extruded and evaluating whether the pieces fit correctly. The decision was made to do it directly this way, rather than using an intermediary application such as Adobe Illustrator, as viewing each section three-dimensionally made it easier to quickly find and fix errors.
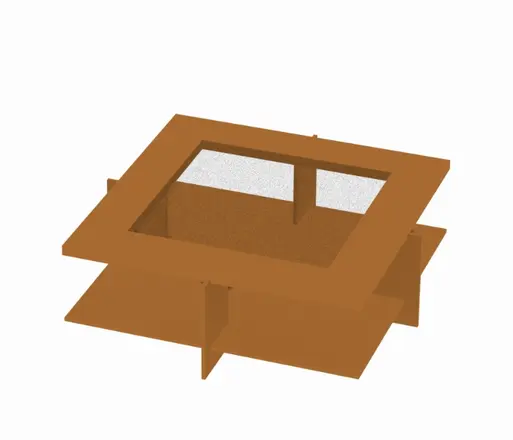
 Figure 6. 3D design of table with shelves
Finally, the file created in Sketch Up was exported with a .dxf extension so that it could be opened with the Adobe Illustrator application. Here, a final review of the two-dimensional design was made, both in real size and as a scale prototype. These can now be sent to laser cutting and obtain the pieces that are assembled to obtain the finished product. The scale design was sent to Shape Lab, where it was cut and then assembled to see if everything works correctly. The latter can be seen in Figure 7, and is made of 3 mm MDF material. With this, it was possible to confirm that the joints had been placed correctly and that the table fulfills its function.
 Figure 7. MDF table prototype.
Proposal Description
Material's list
The design of the furniture was designed to not require additional materials other than the wood that makes it up, for which the different pieces with which it is built have custom fittings to be joined together. Likewise, after consulting in some hardware stores, the most typical measurements for 12-millimeter wooden boards were 4x8 feet, so this dimension was used as a reference for the furniture. Under these circumstances, for the recommended model, the following are used:
| Item | Amount | Cost per unit | Total |
|---|---|---|---|
| Table — EPA | 1.5 | US$33.90 | US$50.85 |
| grand total | US$50.85EUR 43.00 <br />GBP 36.50 <br />CAD 62.00 <br />MXN 1,042.50 <br />INR 3,742.50 <br /> | ||
Manufacturing costs
The designed furniture is made up of 7 pieces of wood that make up the body of the table and 4 rods as additional support. For its production, some industrial design tools such as laser cutting can be directly applied, with the advantage that in this way it can be easily scaled to new dimensions. Alternatively, there is the possibility of cutting pieces in a traditional way, a more likely situation for TECHO homes, for which you can use supplies from local carpentry shops.
After some estimates and interpolations with the product needs, two manufacturing cost scenarios are proposed. First, make the cuts with a laser cutter, which due to the size and time of use of the machine could require around $50. Second, there is the option of a traditional cut at a local carpentry shop, where It is estimated to cost about $20.
Digital files
The digital files used for the respective cuts are left below. These correspond to the 2D vectorization for the original model and for the prototype. To consult these files in different extensions, check this externalfolder .
File:Original measurements model.pdf
File:Prototype measurement model.pdf
Prototype manufacturing
The prototype consists of a scale table made of 3 mm thick MDF material. The size of this one is 18.75x18.75x18.75 cm. Regarding the actual size, its measurements are 75x75x75 cm. The designed furniture consists of a total of 11 pieces: the table top, the table bases, the reinforcing tabs and the shelves.
One point to discuss in the manufacture of the proposed table is that the materials to be used must be taken into account. Because the prototype has been made, as shown in the video at the end of this section, with laser cutting, there is the advantage that the pieces have more precise measurements according to the 2D design. Likewise, MDF compared to wood is a material with which smooth cuts and edges can be created, so it is not necessary to subject it to extra steps such as sanding. Likewise, when creating the final product, it is necessary to accurately scale the prototype, this way it is easier to ensure that the pieces fit together correctly.
After researching the materials that could be used to manufacture the table designed for this project, it was concluded that the best option for its manufacture is any EPA wood 12 mm wide and 4x8 feet. EPA was selected as the main supplier because it has the most affordable prices in the lumber market. Therefore, when purchasing two tables to manufacture, it does not exceed one hundred dollars per table. One point to take into account when making the final scaled product is that the wood must be sanded if necessary, as well as varnished and fumigated when required, in this way its useful life will be longer. It should be noted that it never hurts to make quotes for wood, since the price can vary from one day to the next.
File:Laser cutting process.mp4
Assembly instructions
| Part no. | Image | Description | Qty. |
|---|---|---|---|
| TO |  | Tabletop | 1 |
| b |  | Shelves | 4 |
| c |  1) 1)  2) 2) | Bases | 2 |
| d | Eyelashes | 4 |

Verify that pieces C, both C1 and C2, are on the correct side. Also, check that the tabs on each base are located at the top of the design.

Then, take piece C1 and fit the slot that starts from the bottom to the center with the opening of piece C2 that starts from the top of the piece to the center.

After fitting the pieces of C, the pieces D must be incorporated. These are inserted into the square holes of the design, the purpose of which is to provide support to the designed table. For this to work correctly, the tabs to be used must be balanced.
ㅤ

After installing the support tabs, pieces B began to be inserted. The previous ones must be inserted into the side slots of the design, these are the ones that start from a lateral point to the center of the piece. It must be taken into account that the openings of each piece C change, since some are centered and the others are located at the bottom.

Finally, after placing pieces B to D, it is necessary to insert piece A into the upper part of the furniture. To do this, as mentioned above, the tabs on each base must be located at the top of the assembly. It is necessary to highlight that the appropriate side must be found to insert piece A into the base of the table.
For greater understanding, consult the following video where the assembly is demonstrated:
File:Demonstration tutorial assembly instructions.mp4
Budget
Estimate the costs for the development of a prototype that takes into account the following:
- Materials
- Manufacturing
| Item | Amount | Cost per unit | Total |
|---|---|---|---|
| Materials — They must be the same as the BOM | 1 | US$50.85 | US$50.85 |
| Manufacturing — Cost of manufacturing a full-scale product (machining hours) | 1 | USD 20.00 | USD 20.00 |
| grand total | US$70.85EUR 60.20 <br />GBP 51.10 <br />CAD 86.80 <br />MXN 1,459.50 <br />INR 5,239.50 <br /> | ||
Goal: (1 budget table)
Conclusions and recommendations
From the entire design and construction process of the product, some general conclusions and important recommendations can be drawn:
- It is extremely important to carry out prior research and know in detail the specifications that the product will need to exceed the customer's expectations.
- The product design needs gradual improvement, which involves numerous prototypes and proposals to finally build the best possible design.
- Creativity in the process and without a doubt the focus and overcoming of different challenges and errors is an important part of the final result and success of the product, among others.
It is also considered relevant, in this section, to answer the following questions:
What observations do you have regarding the product?
In a more specific way regarding the product, some observations about it can be made mainly in its design. The product seeks to be very useful for the families and homes that receive it, in this case in reference to the constructed table. Therefore, its design primarily seeks functionality and space savings in homes; as well as durability beyond aesthetics.
However, the designed table was intended to have a pleasant appearance to complement its functional characteristics and to also be a potential decorative element for homes. In addition to this, a relevant observation that is considered appropriate to mention is the possibility of adapting the dimensions of the table specifically to the needs of the space and what the client wants; As well as other types of unions could also be considered with the same concept of marrying the parts to maintain material savings.
Would changes be made or are there criticisms based on what was observed in the prototype?
Regarding whether you would like to make changes or if you have criticism of the product; At first instance, no significant changes necessary in this are identified. However, it is important to reiterate again the aspect of the dimensions and size of the table; since the ideal would be to have a larger table to provide more space to place belongings and thus avoid overcrowding the space. Added to this, a change that could also be made in the design is regarding the number of shelves it has; given that the greater the number of shelves there would be more space to place objects in the furniture, depending of course on their height and width.
Finally, a criticism that could be made of the prototype is that at first glance it can only be seen as a shelf; However, when taking a 360 view of it, it is reflected as an innovative design because it provides a large amount of space and has multiple functionalities and as the product is used, improvements can be established to provide the best possible quality to it.
Final presentation
The final presentation document and its corresponding video are attached below:
 Project presentation document
File:Final project presentation.mp4